
Voxer (part 2 of 2)

We are publishing this slightly out of order, this is post 2 of 2. We are currently writing about the professional development side of Voxer and will publish at a later date.

Voxer is one of those tools that can be used for professional development and giving quick feedback to students. This idea comes from our Sappington principals Dr. Parker and Dr. Albers, so thankful for you sharing this idea with us!

The big idea of using Voxer is that it is fast, simple and impactful.

This post will detail how to use Voxer to record an audio clip and share it with the students you are working with. This could be the tool you have always dreamed of, timely feedback that does not take a ton of time to create.

Getting Started
Download the Voxer app on your Android or iOS device.
Create an account.

Open the app.
Click the hamberger icon (three lines) in the upper left corner.
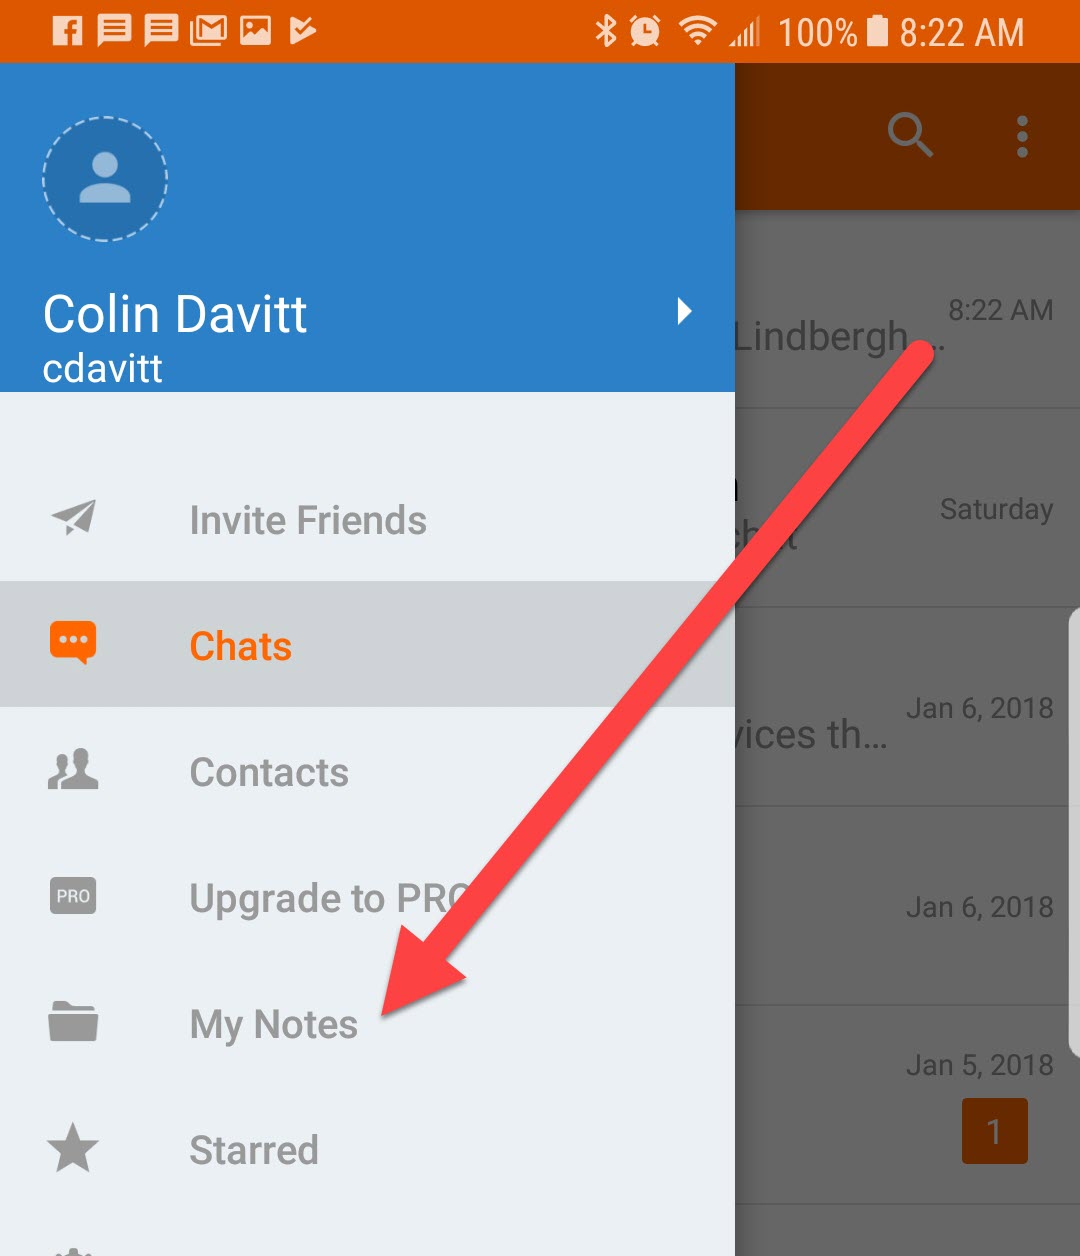
Click My Notes.


To record an audio note, click and hold the little radio button in the lower right corner.
When you are fisnished release the radio button. 
The second you release the button the recording will stop.
This reminds me of a walkie-talkie or the sweet PRC-77 we used in the Corps. Nothing better than talking on a radio.


To share the note, click the small arrow to the right of the recording.


Click the share button in the upper right corner.

I use the email button but you could share in a million different ways.

We would recommend putting something in the subject line of the email to help the recipient key into why they are receiving the clip.


When the recipient opens the email all they need to do is click on the play button.


Comments

Popular posts from this blog

Like your ELMO but with an iPad (elementary classroom teachers)

I used AirServer to create the infinity mirror effect. We were in a meeting today and Dominic told us about this fantastic idea. As we discussed all things technology he explained one method of using the iPad as a portable ELMO. It was too cool not to share. Step 1 Make sure you have AirServer running on your laptop. 1. Click the Windows key on your keyboard or click the icon in the lower left of your screen. 2. Just start typing AirServer. 3. Click AirServer. Don't see it? Contact technology or your building tech person. Step 2 Connect your teacher iPad to your laptop. 1. Swipe up from the bottom of the screen. Start by swiping in the bezel, the black plastic part surrounding the screen. 2. Click AirPlay Mirroring. 3. Click your name. Step 3 Open the camera app and instant portable ELMO! Anything you see in the camera's len will be broadcast to the big screen. I just used this method to take a picture of my notebook as a demonstration of how co

Annotate PDF? How might I do that?

So I have a PDF and I need to edit it. Here is one method that works pretty well for me. Open Word. Click File .  1. Click Open . 2. Click Browse . 3. Find the PDF you want to annotate. 4. Click Open . Click OK when you see this box. Bam! Your PDF now opens in Word. Note: you maybe have to click Enable Editing at the top of the screen. Finished editing and want to turn it back into a PDF? Click File . 1. Click Save As . 2. Click This PC . 3. Pick a location. I usually save things to my desktop. 4. Click Save as type - and choose PDF. 5. Click Save .

Who is emailing me? The Blue Man Group??? (Add an image to your Google account.)

WHY It is always nice to put a face with a name. Sometimes we need a tiny little reminder of what someone looks like because we don't see them very often. Follow these steps to add/change the image associated with your Google account. HOW Open your email. Click your image. It might just be a blue circle if you have not added something already. Click Change . Find an image you like. Your amazing new image will appear. From now on everyone can put a name to a face!