
An easy way to Keep things on tack and organized.


I love Post-It notes, a simple way to record ideas. These tiny notes help me maintain focus and accomplish tasks faster than longer to-do notepads.

While I love the paper notes there isn't always a great place for kids to keep these notes to refer to later on. A while back I started tinkering with Google Keep, a simple web/mobile app, it is like a modern version of the Post-It.

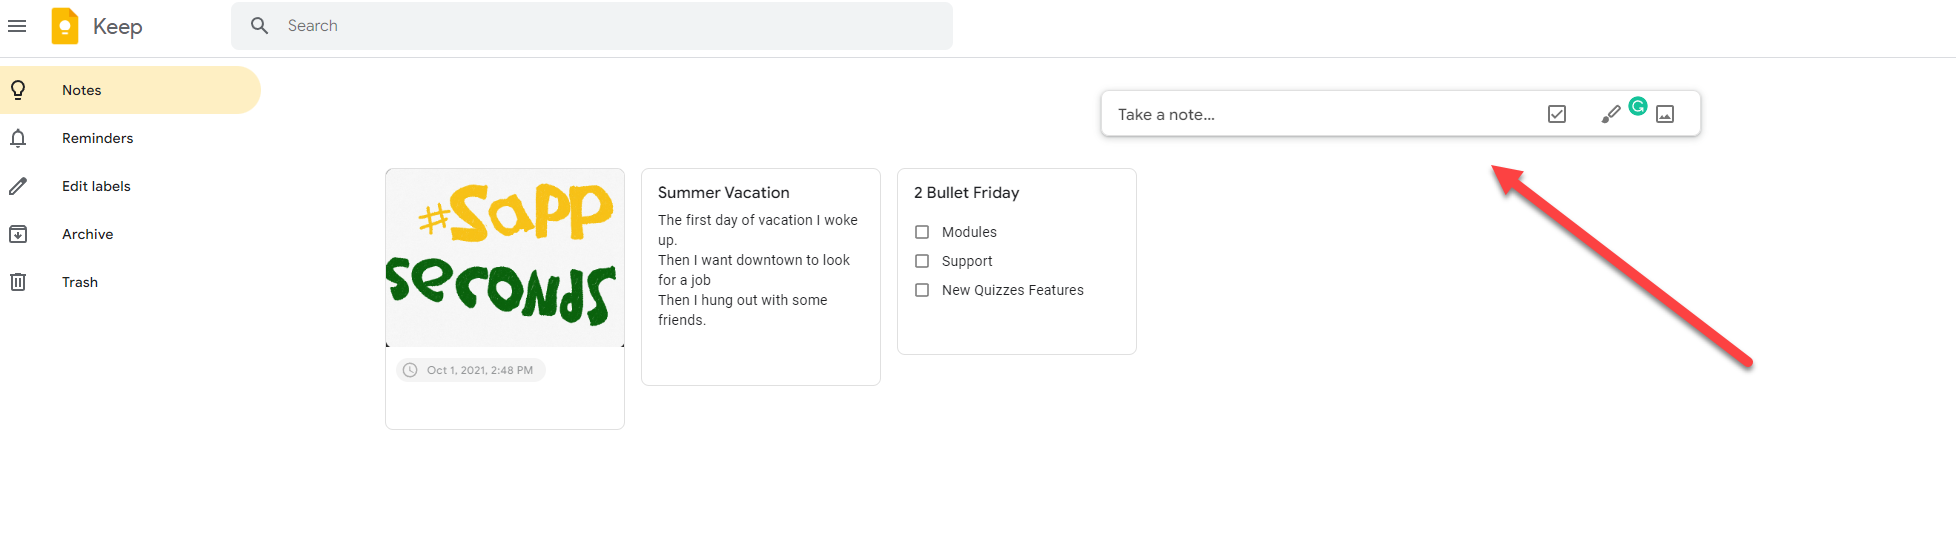
Start by visiting keep.google.com
Click Take a note... at the top of the screen.

Start by giving the note a tile and start adding some context.
I highly recommend being very specific and informative when creating the title. After a while, you will have a billion notes and it makes it difficult if they are all named Thursday.

The power comes when you click on the bottom ice cream cone, the three dots.
Choose Show checkboxes.

It will turn your note into a checkable note, when you cross it off the item will move to the bottom.
You can indent items, making them subtasks, by dragging them to the right.

The most powerful feature is the little bell on the left.
You can set a reminder for the note to appear at a set time or when you arrive at a set location. These location-based notifications work best on mobile devices.

How might you use this?

  • You, or the student, could make a daily to-do checklist. As they complete the tasks, they check them off. At the end of the day, they can uncheck to have a fresh checklist to start the following day.
  • Have the students create a to-do at-home checklist and set a notification to appear once they arrive home.
  • Use Keep as a scratch pad. Students can jot down their ideas for writing a paper, outlining big ideas. Once they are ready, they can click the ice cream cone, three dots, and choose Copy to Google Docs. It will copy the whole note into a Google Doc making it easier to start writing based on the ideas they recorded in Keep.
  • Create a Keep that will appear once you hit campus so you don't have to find that note you wrote on the random scrap of paper!

Comments

Popular posts from this blog

Like your ELMO but with an iPad (elementary classroom teachers)

I used AirServer to create the infinity mirror effect. We were in a meeting today and Dominic told us about this fantastic idea. As we discussed all things technology he explained one method of using the iPad as a portable ELMO. It was too cool not to share. Step 1 Make sure you have AirServer running on your laptop. 1. Click the Windows key on your keyboard or click the icon in the lower left of your screen. 2. Just start typing AirServer. 3. Click AirServer. Don't see it? Contact technology or your building tech person. Step 2 Connect your teacher iPad to your laptop. 1. Swipe up from the bottom of the screen. Start by swiping in the bezel, the black plastic part surrounding the screen. 2. Click AirPlay Mirroring. 3. Click your name. Step 3 Open the camera app and instant portable ELMO! Anything you see in the camera's len will be broadcast to the big screen. I just used this method to take a picture of my notebook as a demonstration of how co

Who is emailing me? The Blue Man Group??? (Add an image to your Google account.)

WHY It is always nice to put a face with a name. Sometimes we need a tiny little reminder of what someone looks like because we don't see them very often. Follow these steps to add/change the image associated with your Google account. HOW Open your email. Click your image. It might just be a blue circle if you have not added something already. Click Change . Find an image you like. Your amazing new image will appear. From now on everyone can put a name to a face!

Annotate PDF? How might I do that?

So I have a PDF and I need to edit it. Here is one method that works pretty well for me. Open Word. Click File .  1. Click Open . 2. Click Browse . 3. Find the PDF you want to annotate. 4. Click Open . Click OK when you see this box. Bam! Your PDF now opens in Word. Note: you maybe have to click Enable Editing at the top of the screen. Finished editing and want to turn it back into a PDF? Click File . 1. Click Save As . 2. Click This PC . 3. Pick a location. I usually save things to my desktop. 4. Click Save as type - and choose PDF. 5. Click Save .