
It is time to let go of the H Drive. (or the whatever lettered drive)

For years we used the H Drive to store, and backup, all of our files. In those days we were given two gigs of storage on a school server, while two gigs does not seem like much it was a ton years ago.

Just like back then, the H can only be accessed while on campus.

Years ago we moved to Google Drive which offered unlimited storage accessible from anywhere. Overnight we started using Drive and slowly forgot about the H Drive. 

It is now time to get rid of the H once and for all.

This is a lot like moving to a new house, you don't take everything with you. 

Take some time to look through your H and see what actually should be move to the Drive and what you can leave behind to be securely deleted.

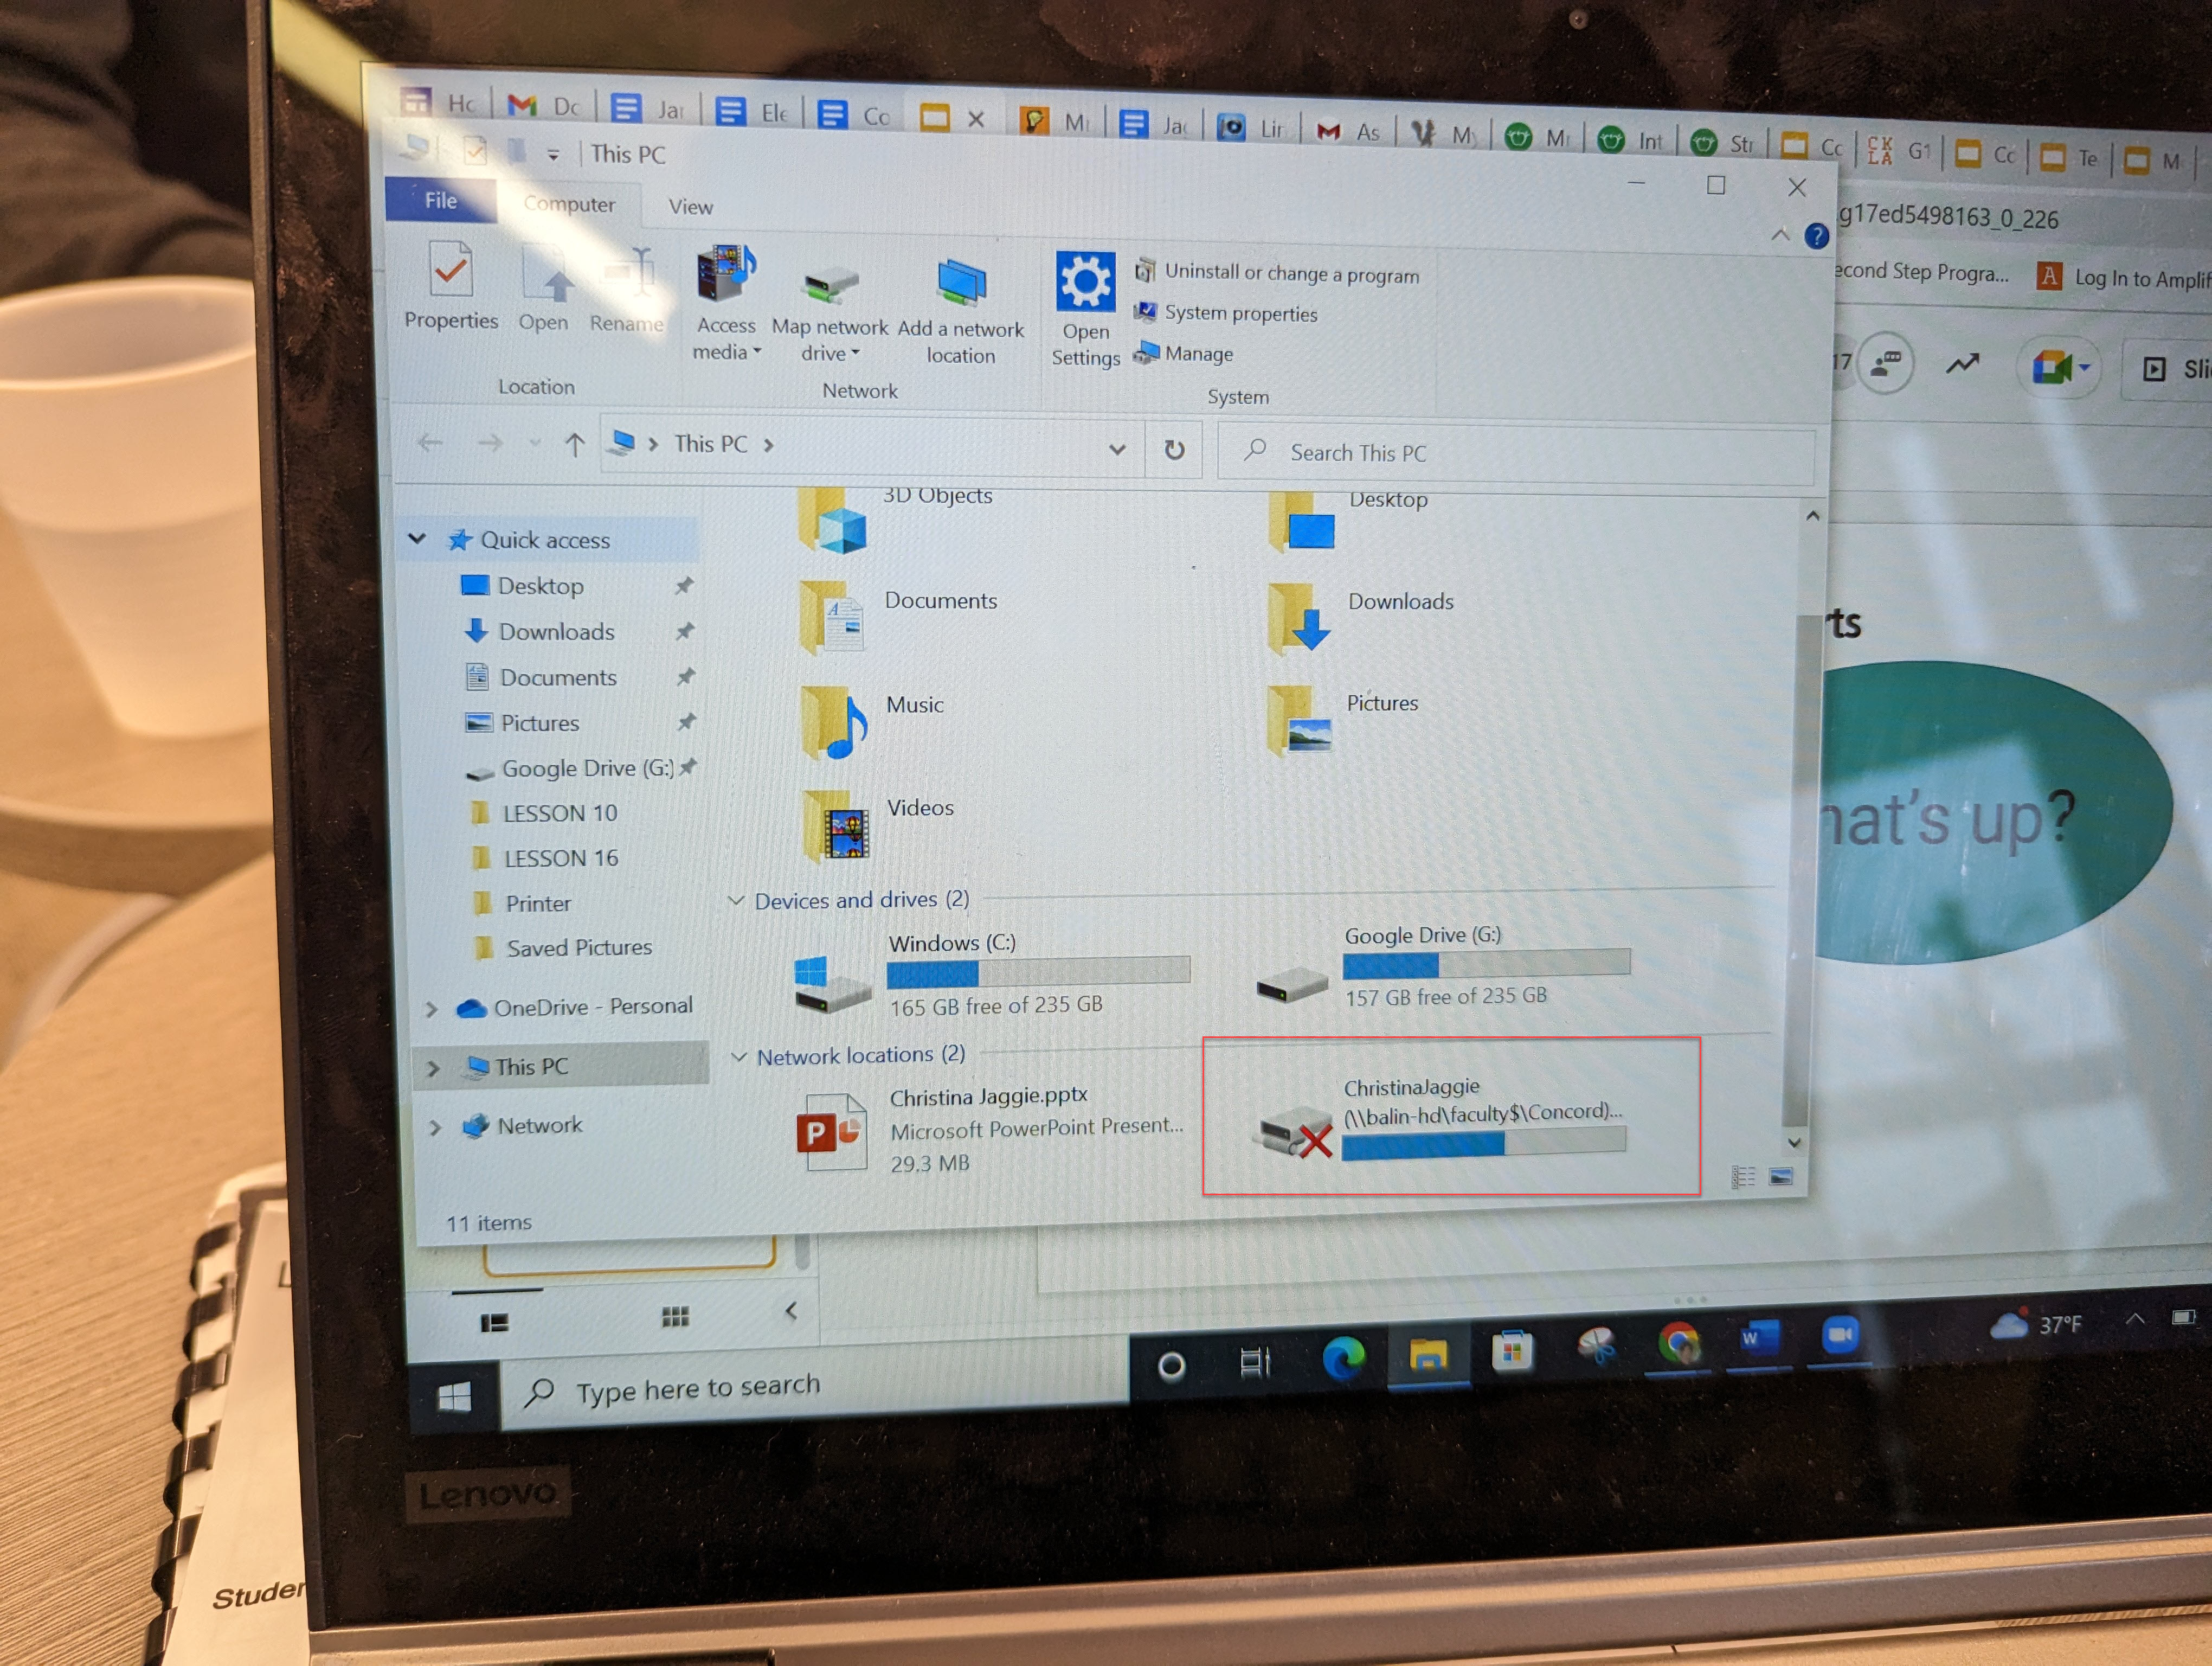
Note: While not everyone has an H drive, if you access a place to store files as seen in the images below then you have files that must be moved. Some of these drives could also be called V or S.

Moving Files

There are multiple ways to find the H. Below we show you two.

1. Click the little folder icon.
2. On the left, click your name.
3. Double click the folder that has your name on it.

Following the same steps as above, you might see a red X on the drive with your name.
Click that.

Open the H and go through your files. Only keep what is necessary and leave anything you don't want or needed deleted in the H.

After you have evaluated the files, move what you need to Google Drive.
We recommend creating a new folder in Drive, I called my H Drive so I could quickly find it later.
To move my files, I opened the H and Drive so I could quickly drag from one to the other.

Key Points
  • You can only perform these steps on campus, not at home.
  • Only keep what you need. Most likely if you have not opened your H Drive in a long time, those files are not needed anymore.
  • Be mindful of any file with student data, do you need to actually keep it? Example, I found a number of files from my days working with the Academy back in 2007. I am leaving those in the H Drive so they can be securely deleted for me.
  • Time is limited, if you need help with this process ask BEFORE winter break.
  • One of the best places to keep common files in the Shared Drive in Google Drive.

Comments

Popular posts from this blog

Like your ELMO but with an iPad (elementary classroom teachers)

I used AirServer to create the infinity mirror effect. We were in a meeting today and Dominic told us about this fantastic idea. As we discussed all things technology he explained one method of using the iPad as a portable ELMO. It was too cool not to share. Step 1 Make sure you have AirServer running on your laptop. 1. Click the Windows key on your keyboard or click the icon in the lower left of your screen. 2. Just start typing AirServer. 3. Click AirServer. Don't see it? Contact technology or your building tech person. Step 2 Connect your teacher iPad to your laptop. 1. Swipe up from the bottom of the screen. Start by swiping in the bezel, the black plastic part surrounding the screen. 2. Click AirPlay Mirroring. 3. Click your name. Step 3 Open the camera app and instant portable ELMO! Anything you see in the camera's len will be broadcast to the big screen. I just used this method to take a picture of my notebook as a demonstration of how co

Who is emailing me? The Blue Man Group??? (Add an image to your Google account.)

WHY It is always nice to put a face with a name. Sometimes we need a tiny little reminder of what someone looks like because we don't see them very often. Follow these steps to add/change the image associated with your Google account. HOW Open your email. Click your image. It might just be a blue circle if you have not added something already. Click Change . Find an image you like. Your amazing new image will appear. From now on everyone can put a name to a face!

Annotate PDF? How might I do that?

So I have a PDF and I need to edit it. Here is one method that works pretty well for me. Open Word. Click File .  1. Click Open . 2. Click Browse . 3. Find the PDF you want to annotate. 4. Click Open . Click OK when you see this box. Bam! Your PDF now opens in Word. Note: you maybe have to click Enable Editing at the top of the screen. Finished editing and want to turn it back into a PDF? Click File . 1. Click Save As . 2. Click This PC . 3. Pick a location. I usually save things to my desktop. 4. Click Save as type - and choose PDF. 5. Click Save .